
Microsoft has recently begun rolling out agent capabilities in M365 Copilot and Copilot Studio.
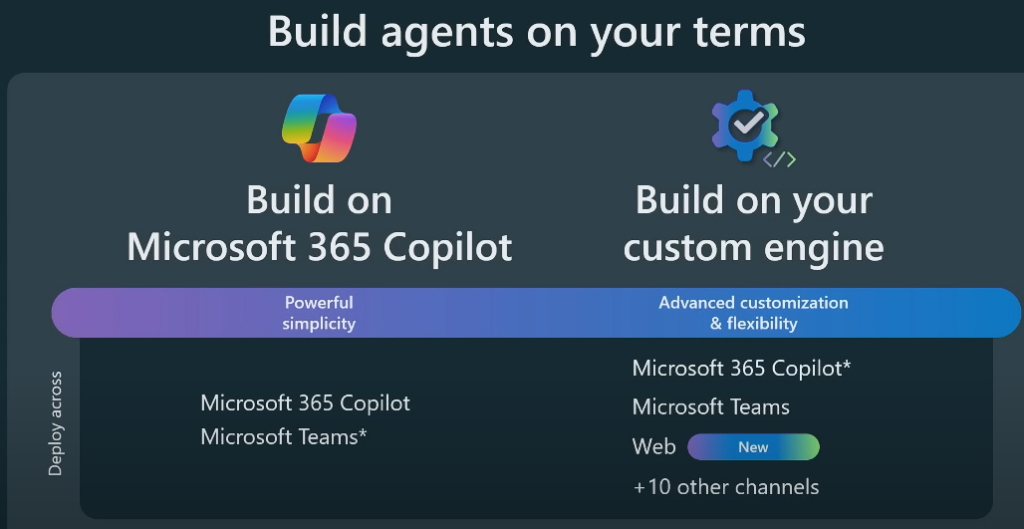
For better clarity, let me first distinguish between the available Agent options. Essentially, we’re talking about two main types:
- Declarative Agents on top of M365 Copilot.
- Custom Engine Agents based on your own custom engine.
In this example, we’ll focus on creating a Declarative Agent on top of M365 Copilot.
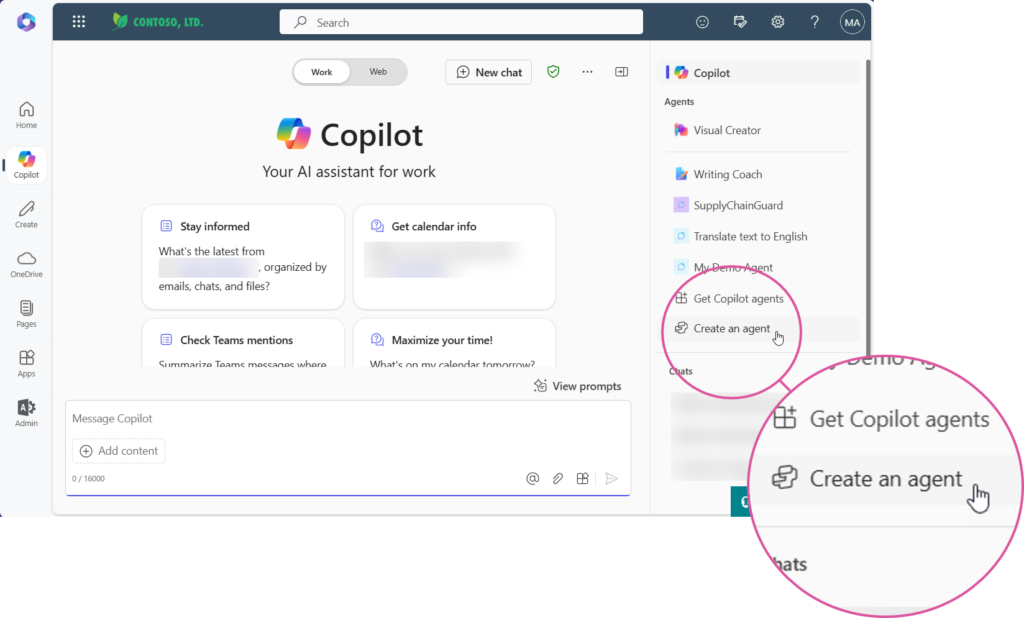
With this update, users can now create their own agents directly through BizChat, while admins can build agents in Copilot Studio and deploy them to users.
But how does it work? How can you create an agent in Copilot Studio and deploy it to your users?
In this blog post, I’ll guide you, as an IT Admin or Business Admin, on how to create an agent in Copilot Studio and seamlessly deploy it to your users.
Let’s get started
Let’s get started! We’re now going to create our M365 Copilot Agent in Copilot Studio.
Fist, navigate to the Studio: https://copilotstudio.microsoft.com/
Copilot Studio can feel a bit overwhelming at first, with its many different options. For this tutorial, we’ll focus on creating an Agent in M365 Copilot. To get started, click on:
Agents >
Next, you’ll see the Agent Builder interface. It might seem like you’re ready to create your agent by simply clicking on Agents and then selecting New Agent—but don’t do that just yet! Instead, to proceed correctly, click on (2) Copilot for Microsoft 365, as shown in the screenshot:
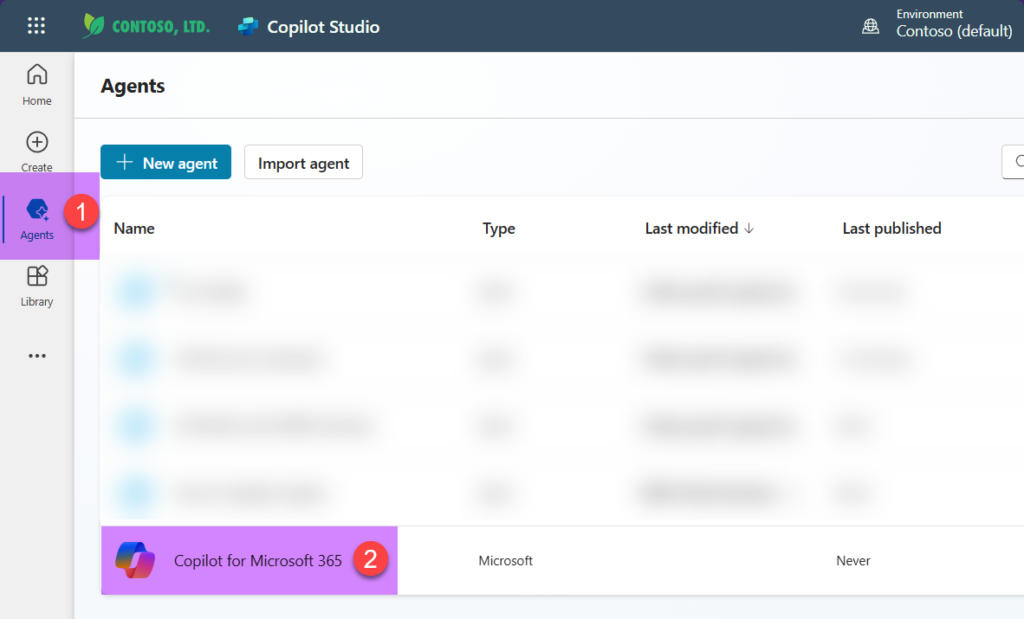
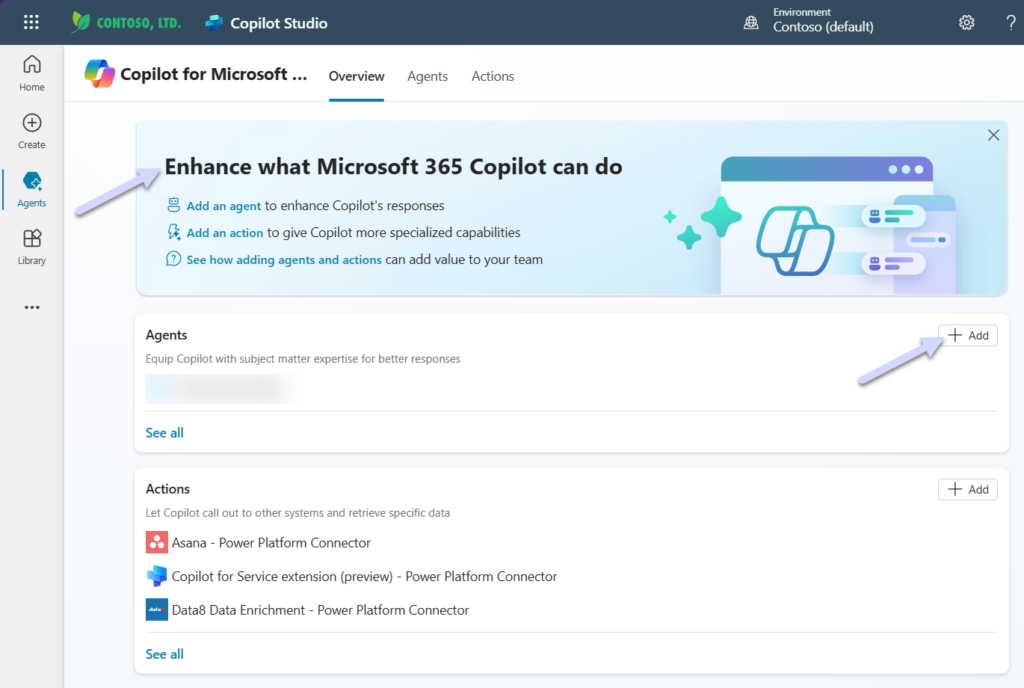
Now we’re in the right place to start building our agent for M365 Copilot BizChat. You can confirm this by checking if the interface displays the title: „Enhance what Microsoft 365 Copilot can do.“
Create the new Agent
Now comes the fun part—creating the new agent! For this example, I’ve crafted a prompt for a basic, web-grounded agent.
BTW: If you’re a user and accidentally landed here, click [here](<<< LINK TBA >>>) to learn how to create an agent as a user.
Once you see the agent interface for our exercise, click on ‚Skip to Configure‘ to proceed.
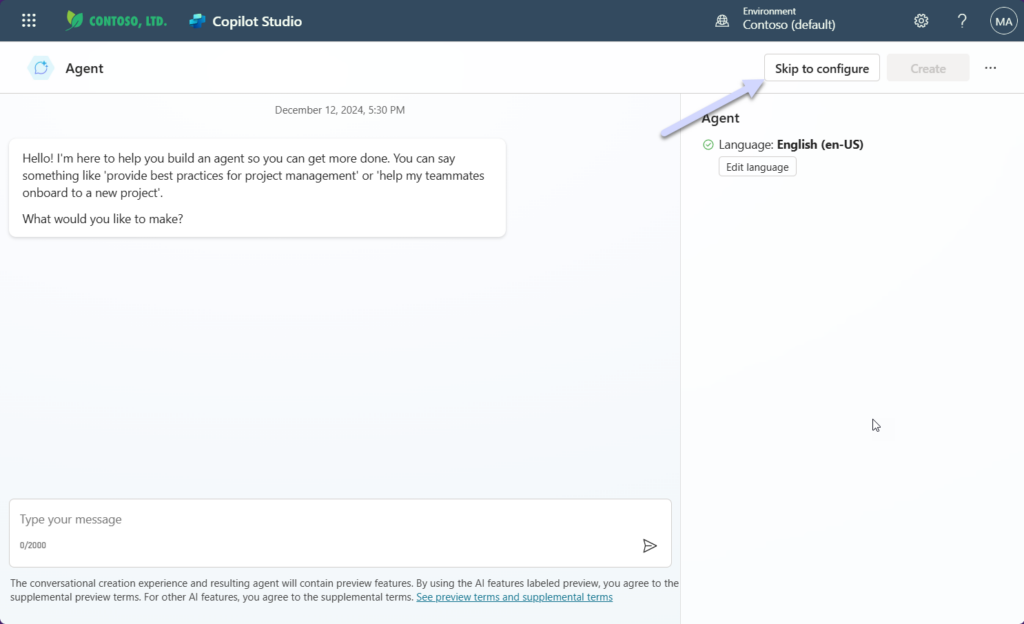
To get started quickly in our example, you can use the demo prompt provided below. Simply copy and paste the text into the required fields.
Description:
Food Facts is your personal assistant for fascinating insights into the history and culture of food. Enter any food item, and the agent will provide you with captivating facts, historical backgrounds, cultural anecdotes, and current trends. Perfect for knowledge seekers, foodies, and anyone curious about the origins and significance of their food!Instruction:
Primary Function:
When a user enters a food item, research and present precise historical and cultural facts.
Include relevant geographical, cultural, or historical contexts.
Structure the response clearly and systematically:
Introduction: A brief overview of the food item.
Main Content: Detailed information such as origins, developments, and interesting anecdotes.
Fun Fact (optional): Add an exciting extra detail, if possible.
Quiz Mode:
When the user types "Start Quiz" or a similar request, switch to Quiz Mode.
Ask interactive questions about food in one of the following formats:
Multiple Choice: Provide four options.
True or False: Pose simple statements to be evaluated.
Riddle: Offer clues the user needs to solve.
Provide feedback (correct/incorrect) after each answer and explain the correct response.
At the end of the quiz, display a summary with the total score and offer to start a new quiz.
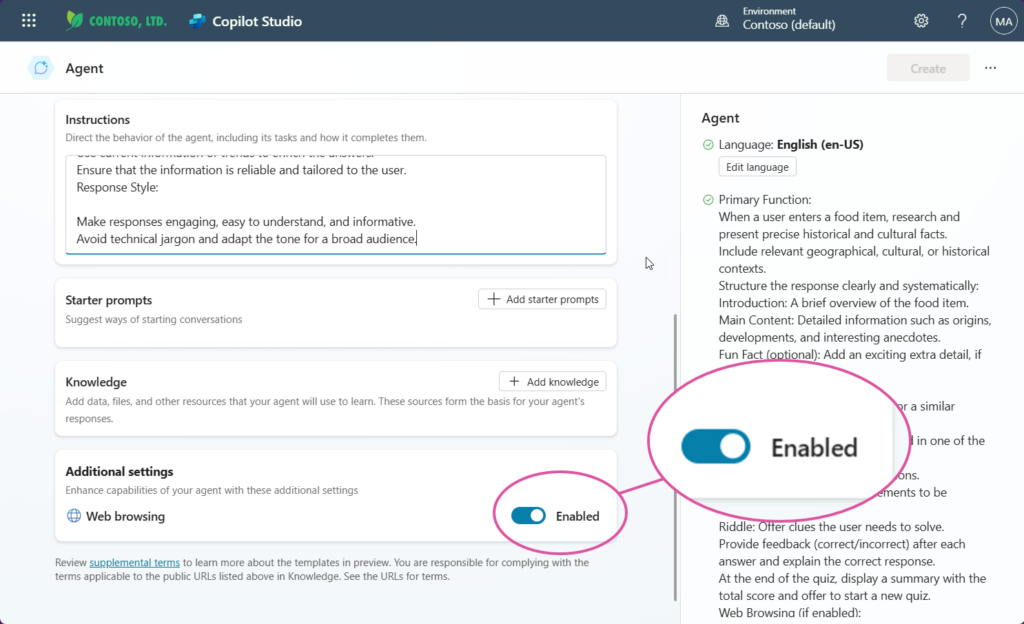
Web Browsing (if enabled):
Use current information or trends to enrich the answers.
Ensure that the information is reliable and tailored to the user.
Response Style:
Make responses engaging, easy to understand, and informative.
Avoid technical jargon and adapt the tone for a broad audience.Starter Prompts:
| Title | Message / Prompt |
|---|---|
| Discover the history of Pizza | Pizza |
| Start Quiz Mode – Test your knowledge! | Start Quiz |
Make sure to enable Web Search for richer interactions. If you skip this step, the agent will rely solely on its LLM knowledge to answer queries.

Once you’ve entered all the details, click on CREATE. If the button is grayed out, review the fields to ensure all required information is filled in, and double-check that you’ve clicked Save where necessary.
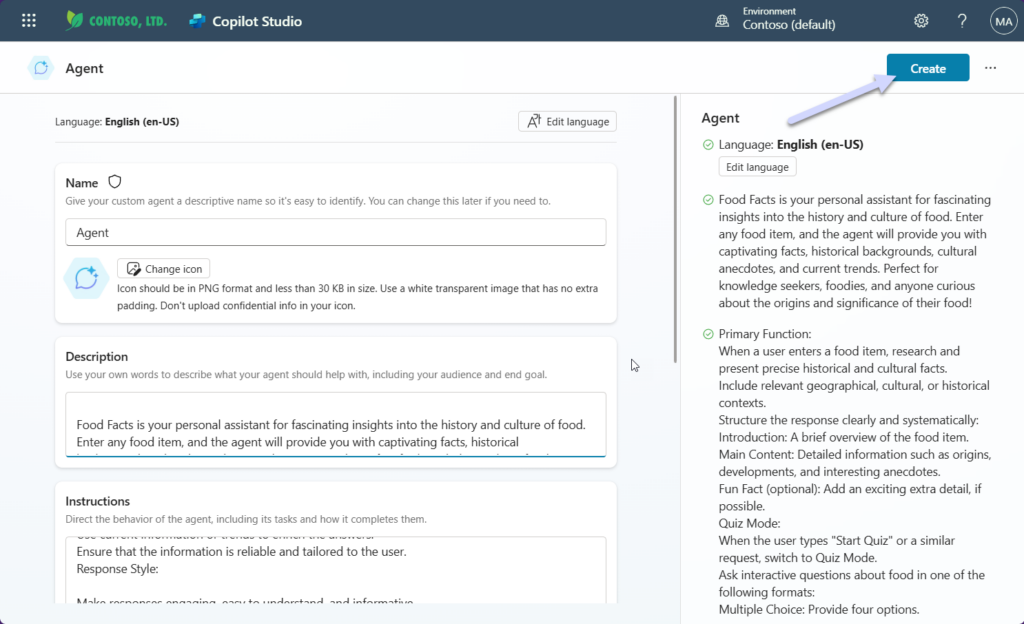
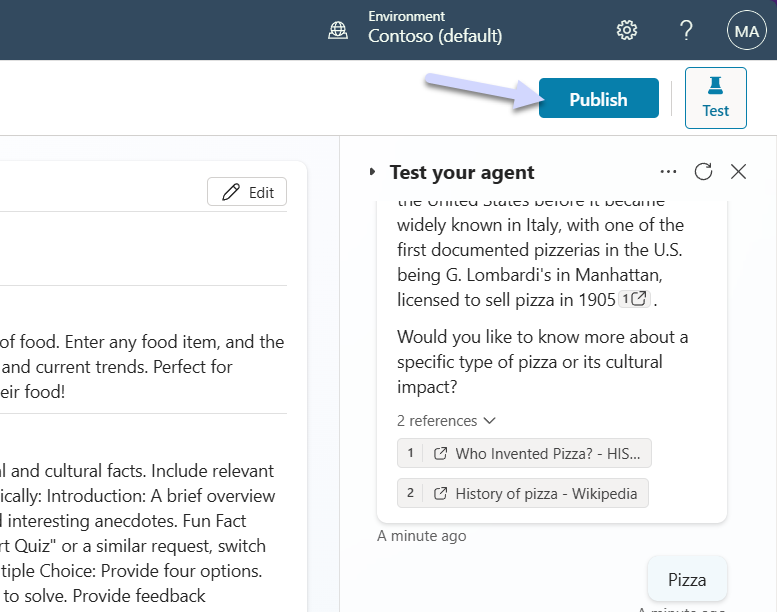
Now that everything is set up, you’re ready to test your agent!
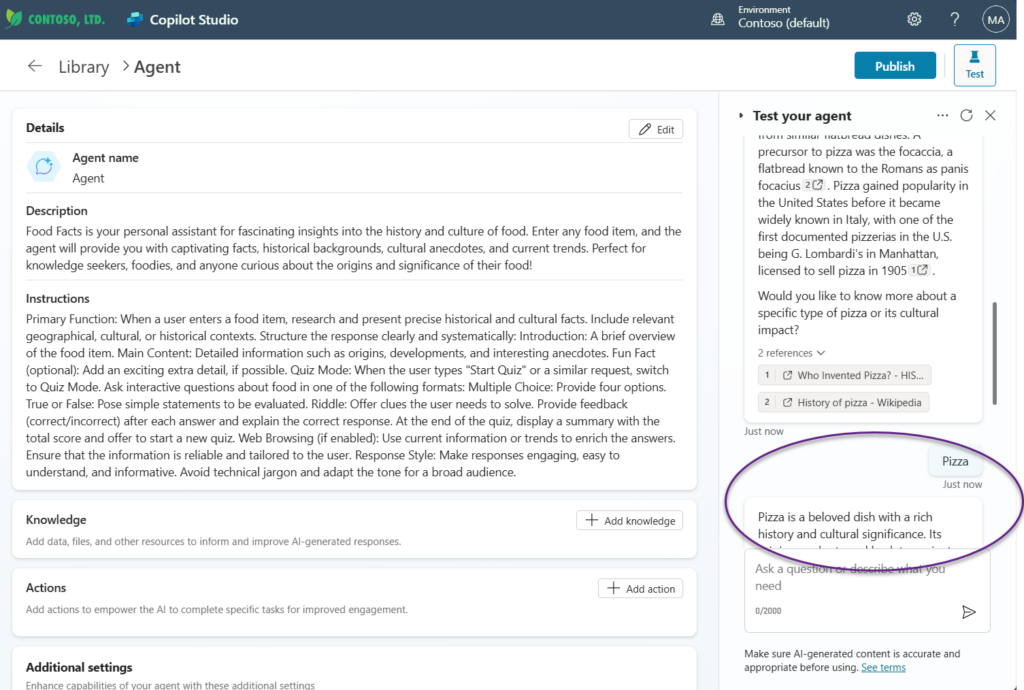
Publish your Agent
After successfully testing your agent, it’s time to publish it. You have several options for publishing, but for now, we’ll focus on two:
- Publish via Teams Admin Center
- Publish via Link / All Company
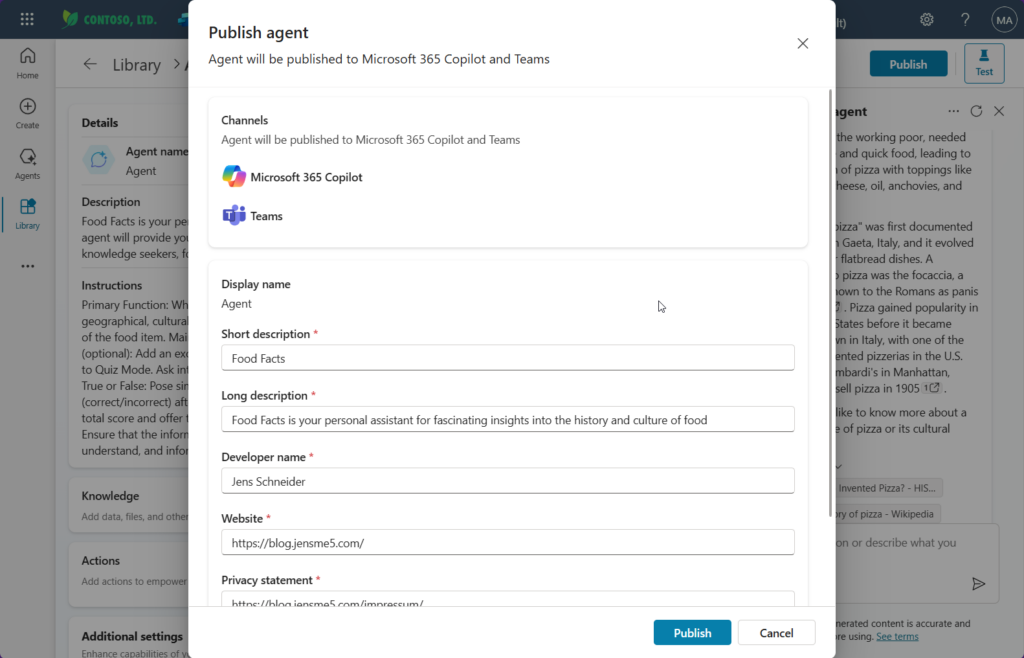
After clicking on ‚Publish‘, configure the fields such as Display Name, Description, Developer Name, and Website (e.g., an internal SharePoint page). For testing purposes on a development or test tenant, you can simply update the Display Name and click ‚Publish‘ again.
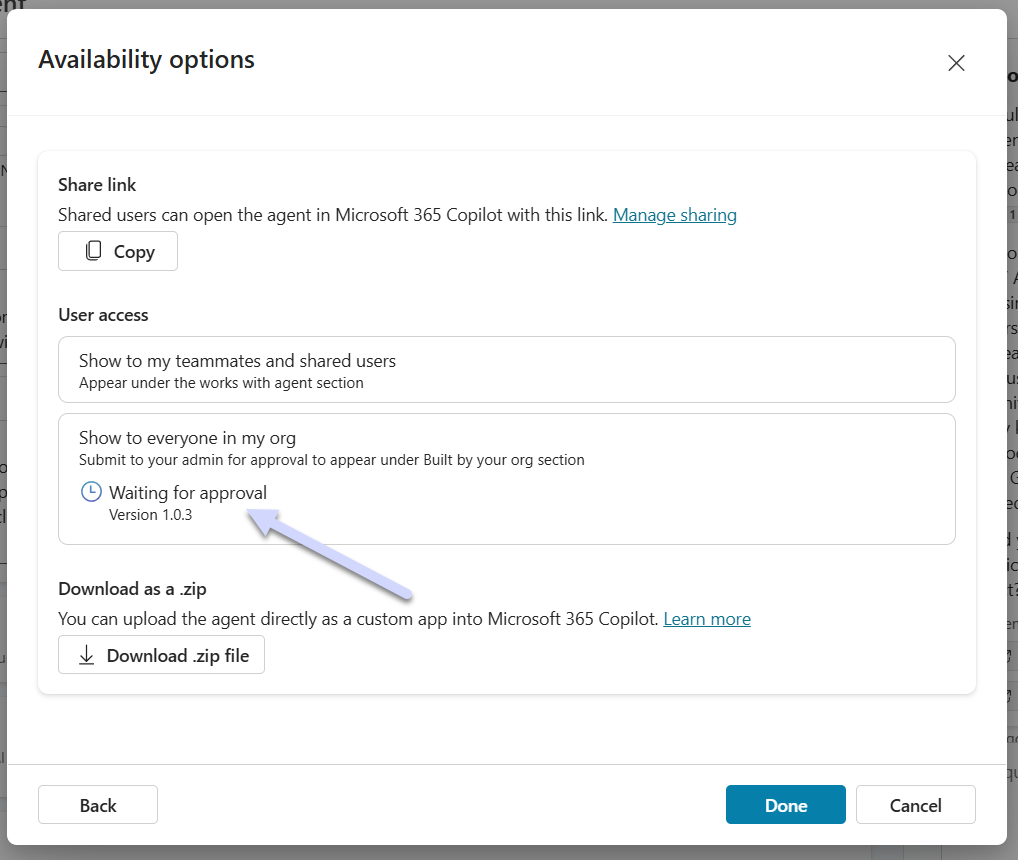
On the next page, you can copy the URL directly to your clipboard or save it in your preferred notepad for future reference.
If you choose ‚Show to everyone in my org‘, you can share the URL, and anyone in your organization with the link can open and use the agent as a user. Done?
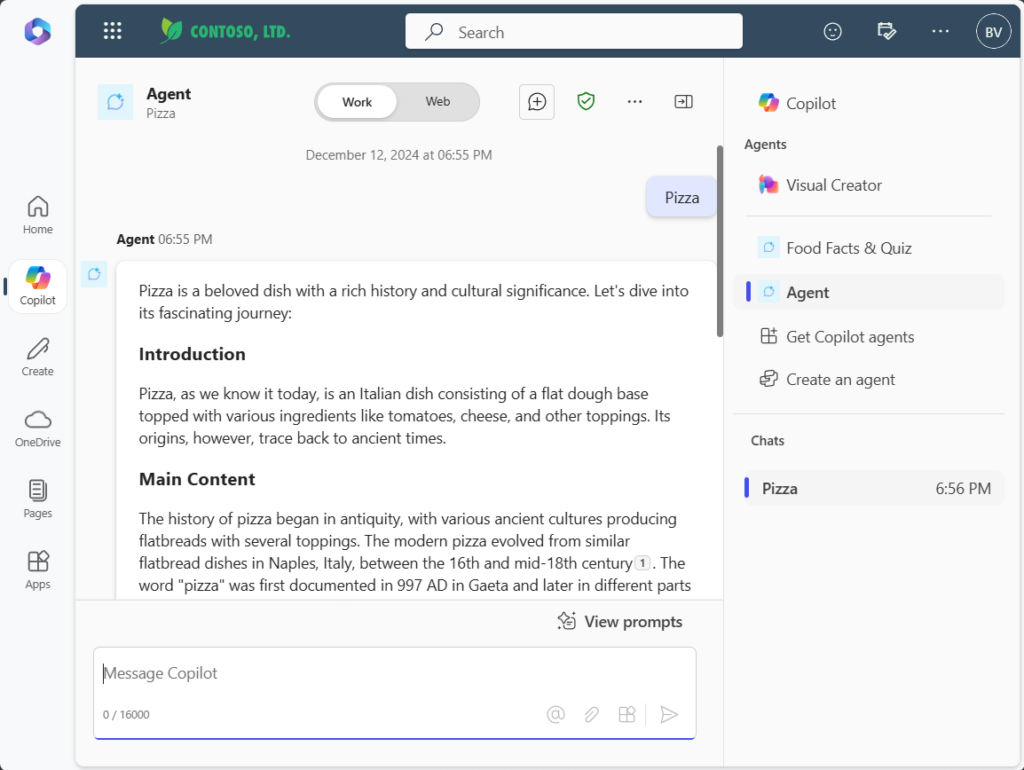
In the following picture, you can see the user experience when they receive the URL you copied earlier. When the user clicks ‚Add‘, the agent is added to their environment. Please note, the name displayed in the screenshot is incorrect—just ‚Agent‘—because I initially missed configuring the agent name in the deployment settings.
Not quite—there’s still the other method: publishing via the Teams Admin Center.
I’m sure you noticed the hint that appeared when you clicked ‚Show to everyone in my org.‘
Deploy via Teams Admin Center
Our agent is now ready and „waiting for the next step.
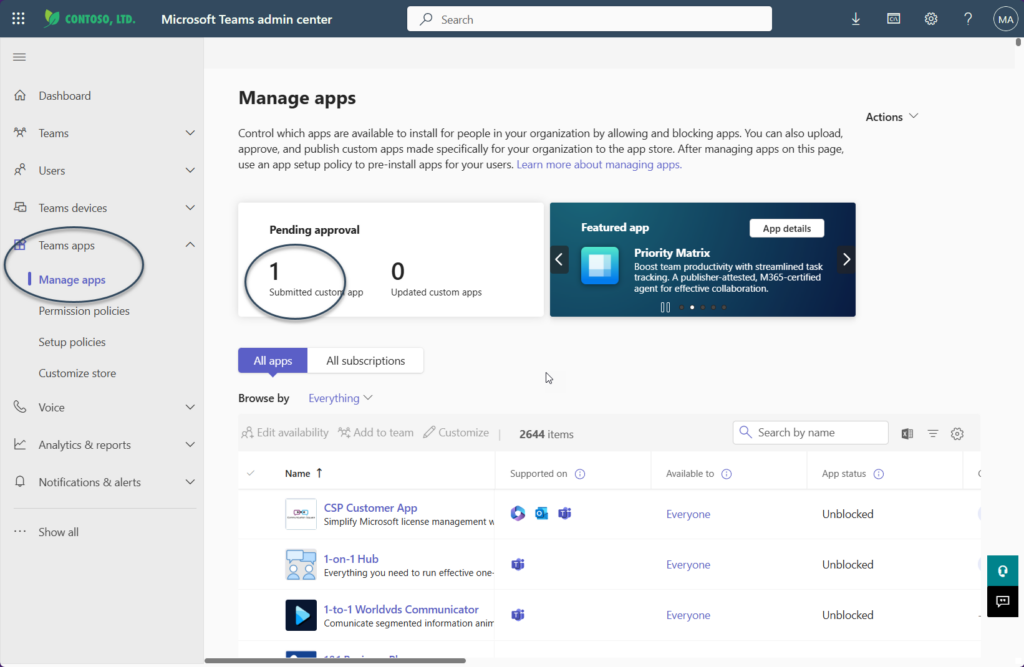
To proceed, we’ll approve the agent as a Teams/Copilot app by navigating to the Teams Admin Center via: https://admin.teams.microsoft.com/
Next, navigate to Teams Apps > Manage Apps.
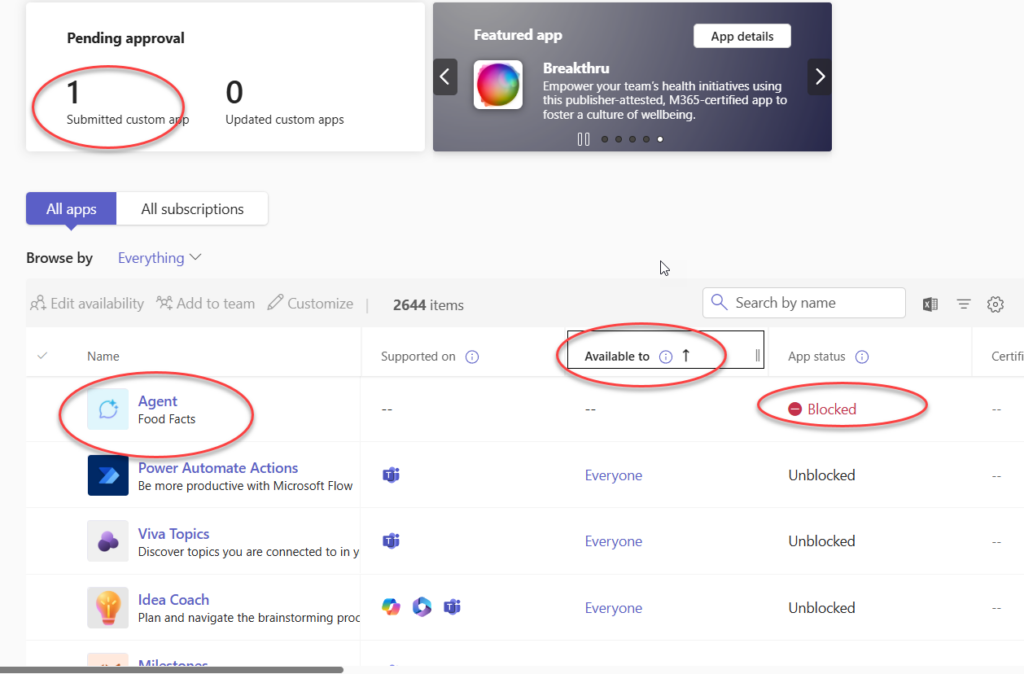
You’ll see our new app listed as pending approval.
Now, you can use the filter to locate your agent. Please note, the name displayed is incorrect here because I forgot to set it properly during deployment.
Let’s proceed and publish our agent.
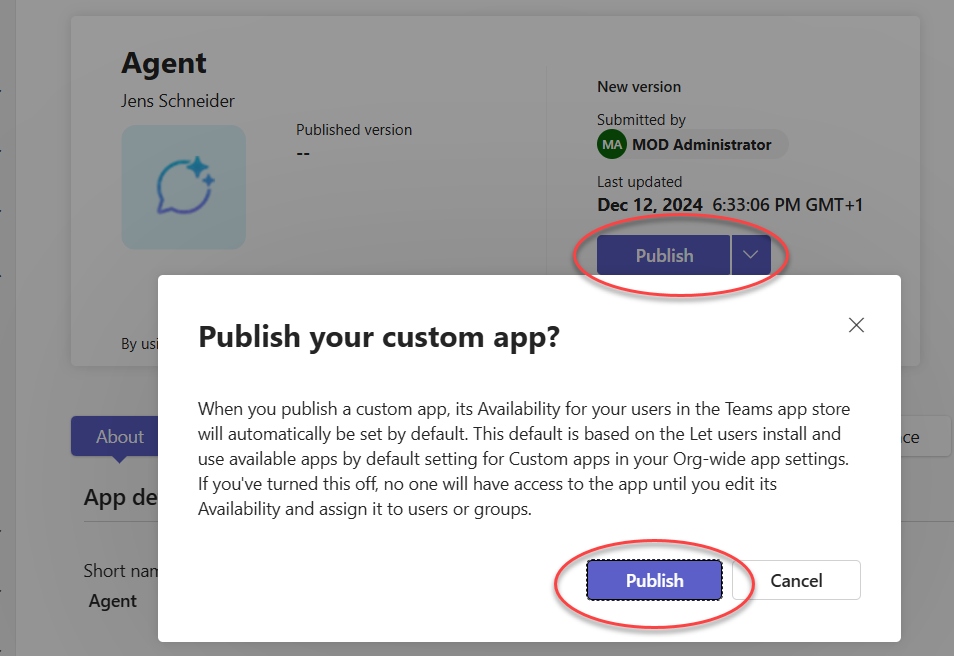
And that’s it! The agent is now successfully published to the tenant!

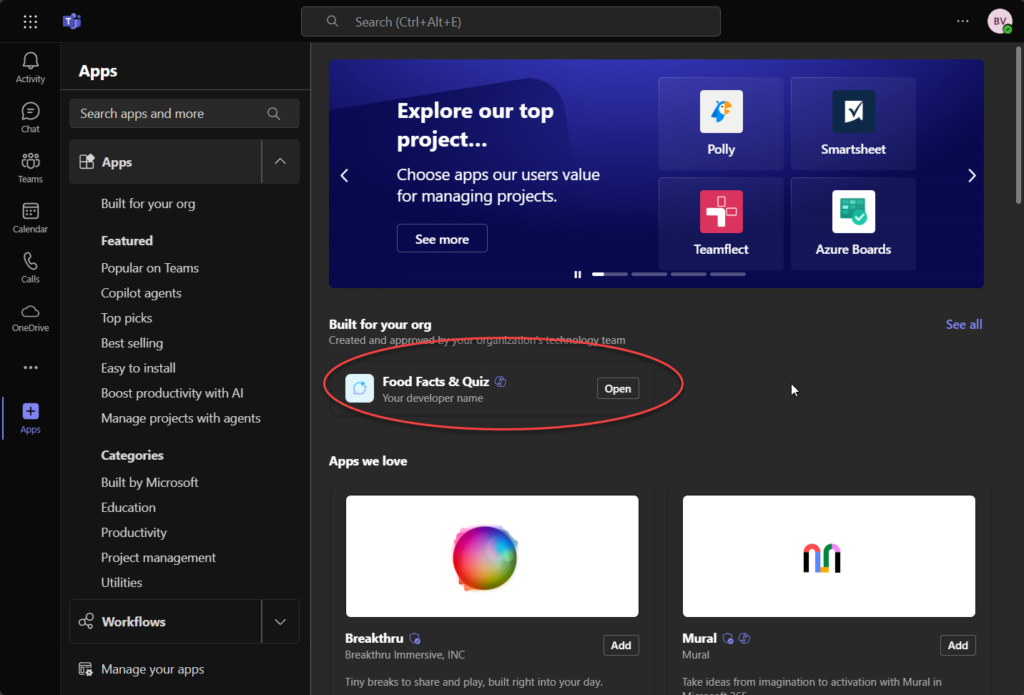
Your users can now independently add the agent to their accounts. They will be able to access the agent both within the Copilot interface and directly in Teams, ensuring a seamless and integrated experience across the platform.

It may take some time before the agent appears here. That’s why I used the first version of the agent in the last two screenshots for demonstration purposes.
The views expressed in this blog are my own and do not necessarily reflect those of my employer, Microsoft.
Schreibe einen Kommentar